
Affiliate disclosure: this article contains paid links. As an Amazon Associate I earn from qualifying purchases.
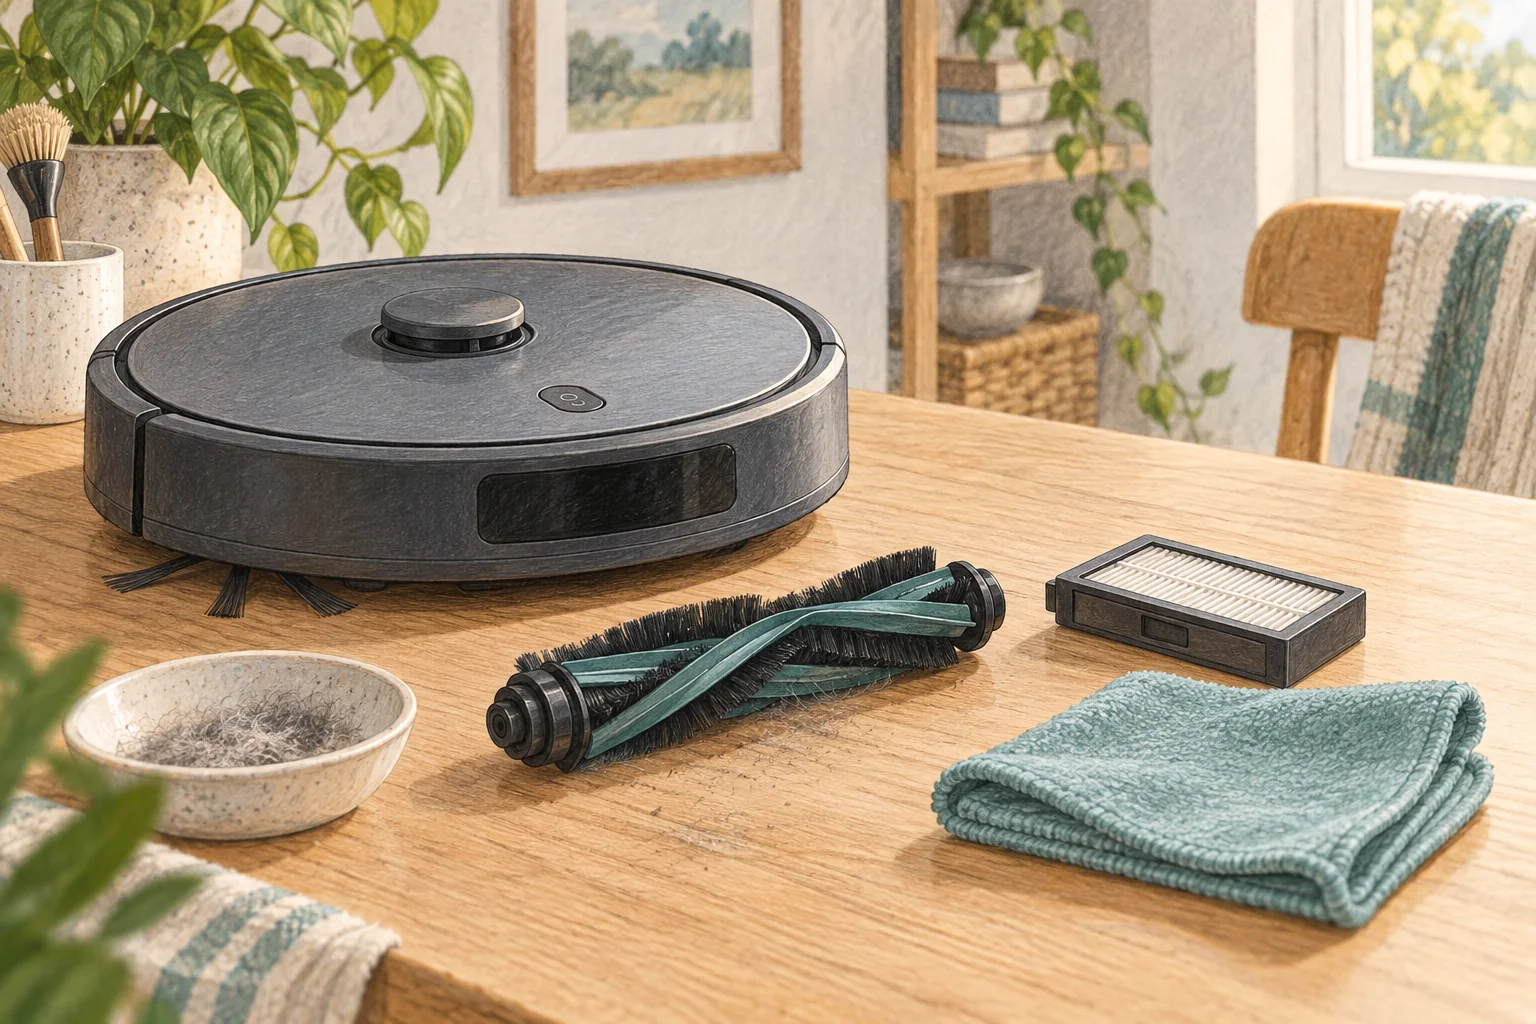
A new brush can perform badly if it is the wrong revision, seated incorrectly or missing an end fitting. Check compatibility before assuming the replacement needs breaking in.
Table of Contents
Start with these checks
- Compare the old and new brush shape, end caps and part number.
- Inspect whether the brush turns freely when fitted as the manual describes.
- Latch the cover evenly and test a small patch with a few loose hairs.
What this looks like at home
A replacement advertised for a whole brand may still differ between that brand's model families.
Follow the debris path
| Check | What matters |
|---|---|
| Floor opening | Look for lodged debris or a displaced brush cover. |
| Bin and seals | Check closure and seating after emptying. |
| Filter | Follow its own cleaning and drying instructions. |
A mistake to avoid
Do not trim or modify a brush to force it into a housing.
Buy a part only after identifying the cause
Check the exact model and part reference before buying. If cleaning resolves the problem, a replacement may be unnecessary.
Browse Amazon UK results for robot vacuum genuine main brush. These are search results, not a verified recommendation for your particular machine.
What the result tells you
Keep the old brush until you have confirmed the replacement works. A comparison of its ends, length and seating can make a compatibility problem obvious without purchasing several more speculative parts.
Related guidance
- How to Clean a Robot Vacuum Brushroll: A 2026 Guide for UK Homes
- Robot Vacuum Maintenance Tips UK: Keep Your Cleaner Running Smoothly
Sources and scope
Checked on 9 September 2026. Manufacturer instructions apply to the models they name; use your own exact manual for button sequences, removable parts and cleaning permissions. Product specifications are advertised claims. Examples illustrate decisions and are not hands-on test results.