
Affiliate disclosure: this article contains paid links. As an Amazon Associate I earn from qualifying purchases.
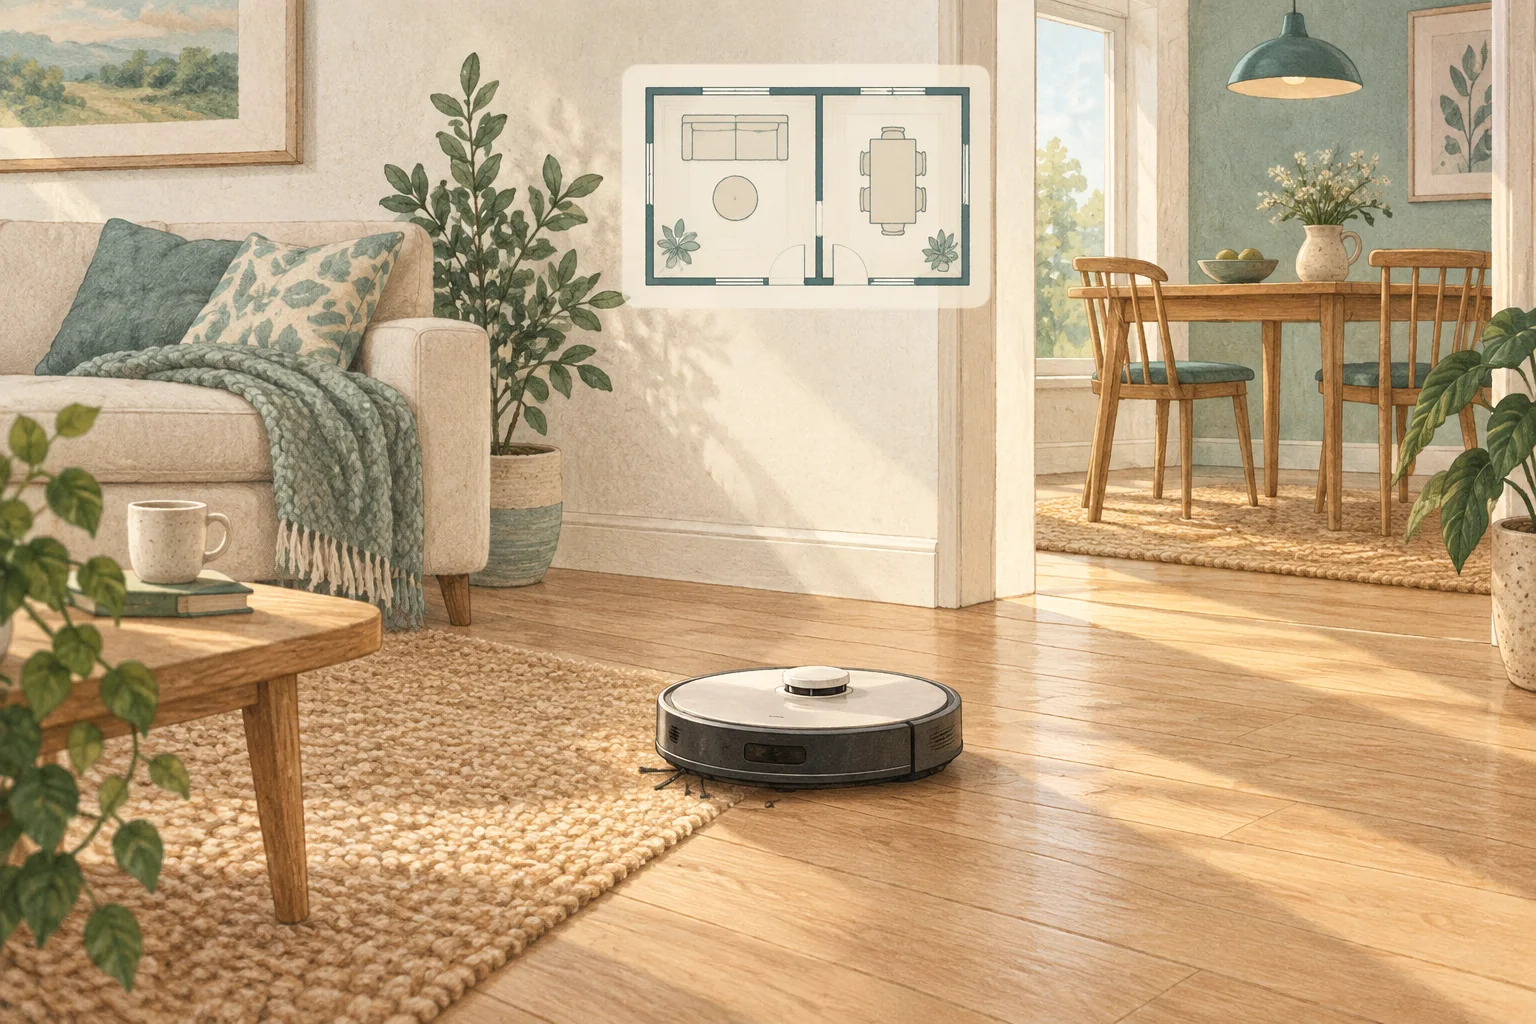
A no-go zone only helps when the robot is using the map on which it was saved. Confirm the map and cleaning mode before relying on the boundary.
Table of Contents
Start with these checks
- Check the active floor map and whether the zone was saved successfully.
- Inspect the boundary at a useful zoom level and leave a margin around the hazard.
- Test the boundary under supervision before scheduling unattended cleaning.
What this looks like at home
A zone created upstairs may have no effect when the app has selected the downstairs map.
Give the robot a consistent starting point
| Check | What matters |
|---|---|
| Starting point | Use the model’s recommended localisation procedure. |
| Selected map | Confirm the correct floor and room selection. |
| Physical route | Check doors, furniture and the return to the dock. |
A mistake to avoid
Use a physical barrier for a dangerous drop or fragile hazard; a virtual line can fail.
Buy a part only after identifying the cause
Check the exact model and part reference before buying. If cleaning resolves the problem, a replacement may be unnecessary.
Browse Amazon UK results for freestanding pet barrier. These are search results, not a verified recommendation for your particular machine.
What the result tells you
Test a non-hazardous boundary first to see whether the robot is following the saved map correctly. Persistent boundary failure deserves support attention before any unattended clean near a fragile or unsafe area.
Related guidance
- How to Map Your Home for a Robot Vacuum: A 2026 Guide
- Robot Vacuum Maintenance Tips UK: Keep Your Cleaner Running Smoothly
Sources and scope
Checked on 9 September 2026. Manufacturer instructions apply to the models they name; use your own exact manual for button sequences, removable parts and cleaning permissions. Product specifications are advertised claims. Examples illustrate decisions and are not hands-on test results.