Table of Contents
As an Amazon Associate, we earn from qualifying purchases. This means we may receive a small commission at no extra cost to you when you buy through links on this page.
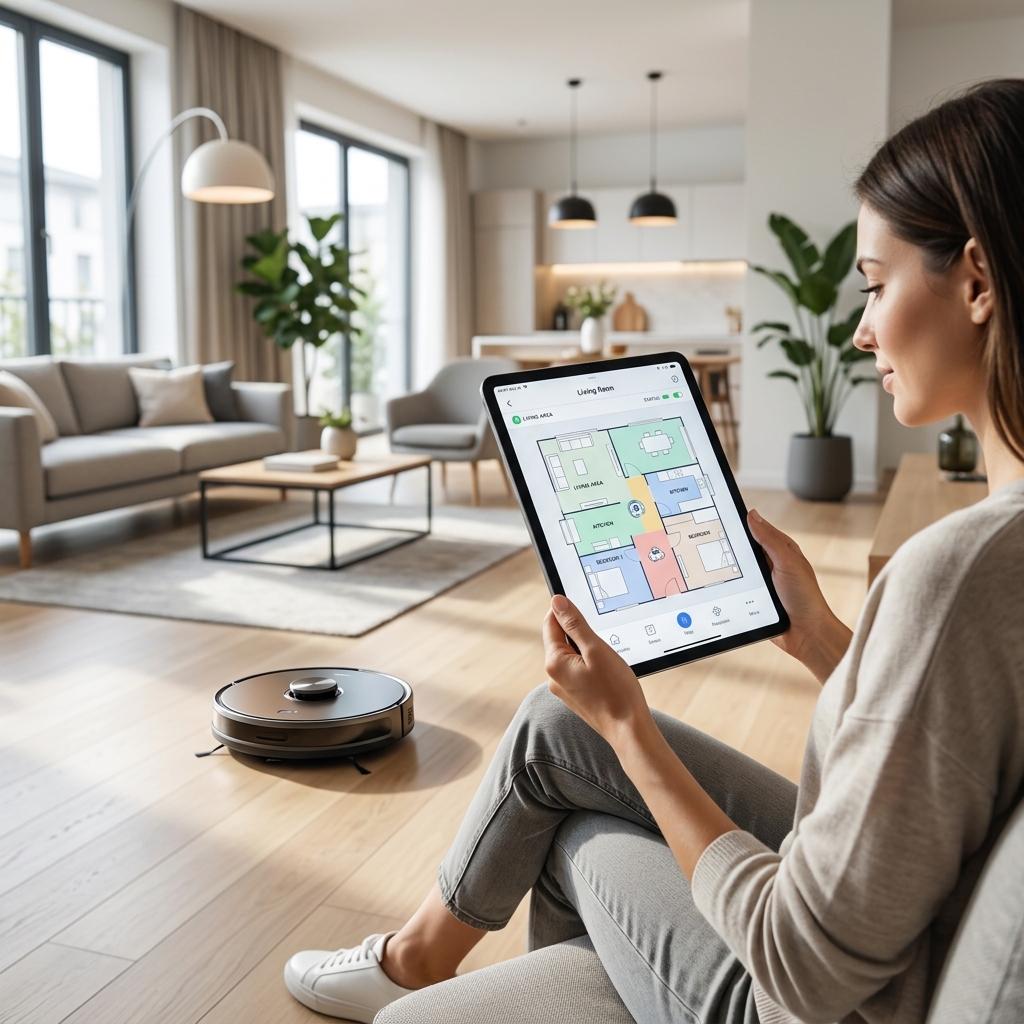
Introduction: The Rise of Targeted Robot Vacuuming
Robot vacuums have come a long way. Remember the early models that bumped randomly around your home, offering a half-hearted clean? Those days are long gone. By 2026, the focus has shifted dramatically towards intelligent, room-specific cleaning. Modern robot vacuums aren’t just about automation; they’re about targeted automation. This means you can instruct your robot to clean the kitchen after breakfast, the living room on Tuesdays, and even just a specific area under the dining table after a particularly messy meal. The benefits are clear: increased efficiency, significant time-saving, and – crucially – a more focused and effective cleaning power. The sophistication of 2026 models, with advanced mapping and scheduling capabilities, makes truly hands-off cleaning a reality.
Understanding Your Robot Vacuum’s Mapping Technology
The ability to clean specific rooms hinges on accurate mapping. Several technologies are employed, each with its strengths and weaknesses:
LiDAR (Light Detection and Ranging)
LiDAR uses lasers to create a detailed map of your home. It’s highly accurate, even in low-light conditions. The robot spins a laser around, measuring the distance to objects and building a precise representation of the layout. Expect to find LiDAR in premium models like the Roborock S8 Pro Ultra (£1599.99) and Ecovacs Deebot X2 Omni (£1499.99).
Visual SLAM (Simultaneous Localization and Mapping)
Visual SLAM relies on a camera and sophisticated algorithms to map the environment. It’s generally less expensive than LiDAR but can be affected by poor lighting or a lack of visual features. The iRobot Roomba j9+ (£1299.99) often employs this alongside other sensors.
Camera-Based Mapping
Similar to Visual SLAM, but often incorporating a more dedicated camera system. These systems may also allow for object recognition – identifying things like shoes or cables to avoid. The Shark AI Ultra Robot Vacuum (£799.99) benefits from this technology.
Here’s a quick comparison:
| Technology | Accuracy | Low-Light Performance | Cost |
|---|---|---|---|
| LiDAR | Very High | Excellent | Highest |
| Visual SLAM | High | Moderate | Moderate |
| Camera-Based | Good | Good | Lower-Moderate |
Challenges: All mapping technologies can struggle with highly reflective surfaces (mirrors), dark carpets, and cluttered environments. Obstacles, especially small ones, can also cause issues.
Initial Setup: Creating a Floor Plan
The first step is to create a floor plan. Most robot vacuums guide you through this process via their companion app. Here’s a general guide:
- Initial Learning Run: Place the robot vacuum in a central location and initiate a “map building” or “learning run”. The robot will systematically explore your home, creating a map as it goes.
- Obstacle Management: During the learning run, remove small obstacles like cables, socks, and loose toys. These can confuse the mapping process.
- Map Editing: Once the learning run is complete, the app will display a draft map. This is where you’ll fine-tune the accuracy. You can add walls, define areas, and correct any errors.
- Troubleshooting: If the map is significantly inaccurate, repeat the learning run after decluttering the area and ensuring adequate lighting. Check the manufacturer’s support site for specific troubleshooting steps.
Defining Rooms Within the Map
Once you have an accurate floor plan, you can define individual rooms. The process varies slightly depending on the manufacturer:
- iRobot: The iRobot app allows you to draw boundaries around each room directly on the map.
- Shark: Shark’s app uses a similar method, allowing for precise room definition.
- Ecovacs & Roborock: These apps often offer automatic room recognition, which can be a good starting point, but manual adjustments are usually necessary.
Tips: Name rooms logically and accurately (e.g., “Kitchen”, “Living Room”, “Master Bedroom”). This will make scheduling and control much easier. Some apps allow you to add notes to each room, which can be useful for specifying cleaning preferences.
Programming Cleaning Schedules for Specific Rooms
This is where the real power of room-specific cleaning comes into play. Most apps allow you to create custom schedules for each room:
- Select Room: Choose the room you want to schedule.
- Set Days & Times: Specify which days and times the robot should clean the room.
- Choose Cleaning Mode: Select the appropriate cleaning mode (e.g., Eco for light dust, Standard for general cleaning, Max for deep cleaning).
- Multiple Schedules: You can create multiple schedules for the same room. For example, you might schedule a quick Eco clean every day and a deep Max clean once a week.
- Priority Settings: Some models allow you to prioritize certain rooms.
Advanced Scheduling (2026): Expect to see more sophisticated scheduling options in 2026, including geofencing (starting cleaning when you leave home) and integration with smart home calendars.
Utilising Virtual Walls and No-Go Zones
Virtual walls and no-go zones are essential for protecting delicate items and restricting access to certain areas.
- Virtual Walls: These are invisible barriers created within the app. They prevent the robot from crossing a defined line.
- No-Go Zones: These are areas you mark on the map that the robot will completely avoid. Use no-go zones for areas with delicate furniture, pet food bowls, or cables.
- Magnetic Strips: Some older models still use physical magnetic strips to create barriers.
Advanced Features: Spot Cleaning & Zone Cleaning
- Spot Cleaning: Initiates a focused clean of a small, defined area (e.g., a spill). This is perfect for quick messes.
- Zone Cleaning: Allows you to select specific areas within a room for targeted cleaning. For example, you might select the area under the dining table after a meal or the high-traffic area near the entryway.
Troubleshooting Common Programming Issues
Here are some common issues and their solutions:
- Robot Getting Stuck: Remove obstacles and ensure the robot has enough clearance.
- Incorrect Room Assignments: Edit the map and re-assign rooms within the app.
- Schedule Not Running: Check the schedule settings and ensure the robot is connected to Wi-Fi.
- Mapping Errors: Repeat the learning run after decluttering and ensuring adequate lighting.
For more help, consult the manufacturer’s support website: iRobot Support, Shark Support, Ecovacs Support, Roborock Support, Dreame Support.
Maintaining Your Robot Vacuum for Optimal Performance
Regular maintenance is crucial for maintaining mapping accuracy and cleaning efficiency:
- Empty the Dustbin: Do this after every cleaning cycle.
- Clean the Brushes: Remove tangled hair and debris from the brushes regularly.
- Replace Filters: Replace filters every few months.
2026 Maintenance Technologies: Some 2026 models will feature self-emptying dustbins, automatic brush cleaning systems, and even self-replacing filters.
Future of Robot Vacuum Programming (2026 & Beyond)
The future of robot vacuum programming is exciting:
- AI-Powered Learning: Expect to see robots that learn your cleaning preferences and automatically adjust their schedules and cleaning modes.
- Voice Control Integration: Seamless integration with voice assistants like Alexa and Google Assistant will become even more commonplace.
- Multi-Floor Mapping Improvements: Multi-floor mapping will become more accurate and reliable.
With continued advancements, robot vacuums are poised to become even more intelligent and autonomous, truly transforming the way we clean our homes.