Table of Contents
Why Connect Your Robot Vacuum to WiFi?
Robot vacuums have come a long way. While basic models simply bounce around cleaning, WiFi connectivity unlocks a wealth of features that dramatically enhance their usability and effectiveness. Connecting your robot vacuum to your home WiFi network allows for:
- Remote Control: Start, stop, and pause cleaning cycles from anywhere using your smartphone.
- Scheduling: Set cleaning schedules to automate your floor care, even when you’re not at home.
- Smart Home Integration: Control your robot vacuum with voice commands through Amazon Alexa or Google Assistant. “Alexa, tell Roomba to start cleaning!”
- Firmware Updates: Keep your robot vacuum performing optimally with automatic software updates delivered over WiFi. These often include performance improvements and new features.
- Advanced Features: Utilise features like zoned cleaning (directing the vacuum to specific rooms or areas), virtual boundaries (preventing access to certain areas), and detailed cleaning reports.
What You’ll Need Before You Start
Before you begin the connection process, ensure you have the following:
- A 2.4 GHz WiFi Network: The vast majority of robot vacuums still operate on the 2.4 GHz WiFi band. 5 GHz networks are generally *not* supported. Check your router settings if you’re unsure which band you’re using.
- A Smartphone or Tablet: You’ll need a smartphone or tablet (iOS or Android) to download the robot vacuum’s app.
- The Robot Vacuum’s App: Download the official app for your robot vacuum from the App Store or Google Play Store. Create an account within the app if prompted.
- Your Robot Vacuum: Obvious, but worth mentioning! Ensure it’s charged and within range of your WiFi router.
General Steps to Connect (App-Based Connection)
The general process for connecting a robot vacuum to WiFi is fairly consistent across brands, though specific wording and button locations may vary. Here’s a typical guide:
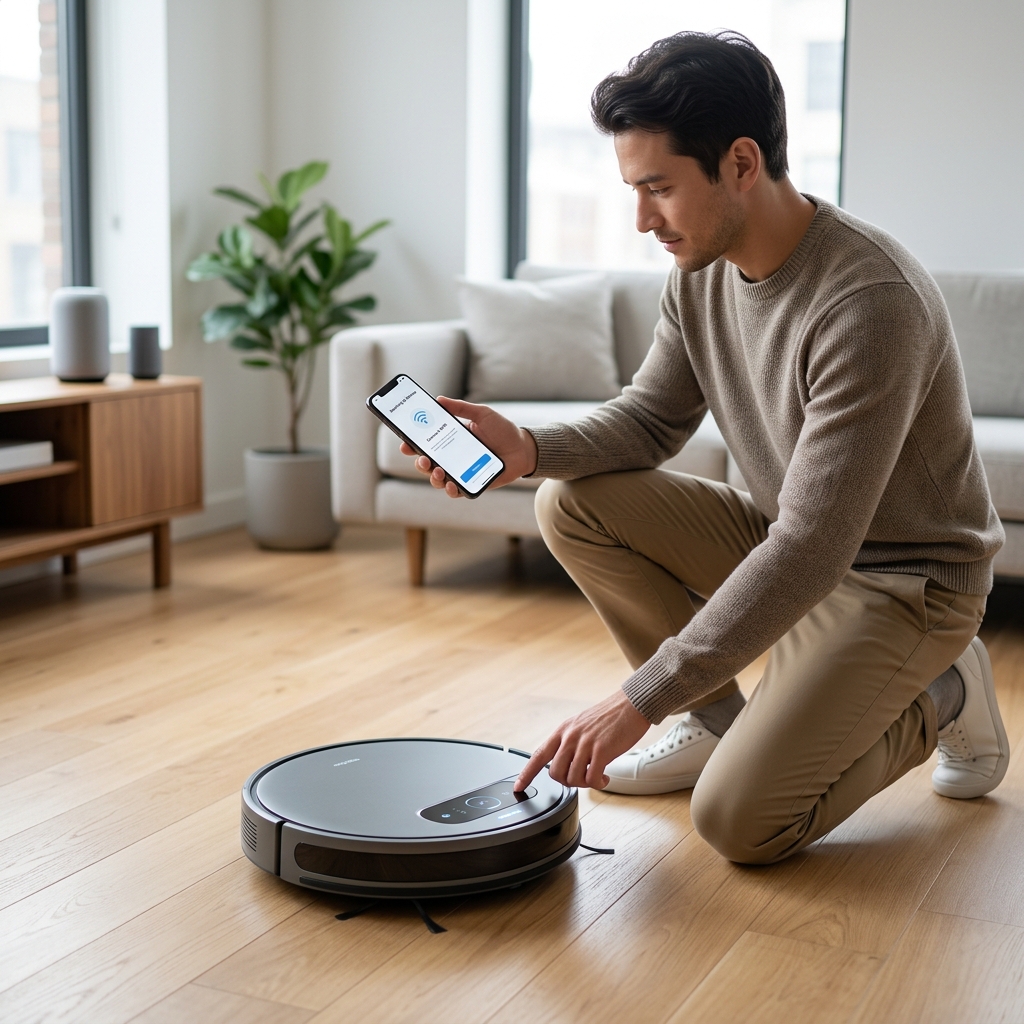
- Put the Robot Vacuum into Pairing Mode: This usually involves pressing and holding a specific button on the robot vacuum itself. Consult your robot vacuum’s manual for the exact procedure. Look for buttons labelled “WiFi,” “Connect,” or similar. The robot will typically emit a sound or a flashing light to indicate it’s in pairing mode.
- Connect to the Robot’s Temporary WiFi Network: Your smartphone or tablet will search for available WiFi networks. You should see a network name that corresponds to your robot vacuum (e.g., “Roomba-XXXX,” “Shark-Robot-XXXX”). Connect to this temporary network. You won’t need a password for this connection.
- Connect to Your Home WiFi Network: Open the robot vacuum’s app on your smartphone or tablet. The app should automatically detect the robot vacuum. Follow the on-screen instructions to connect the robot to your home WiFi network. You’ll be prompted to enter your WiFi password.
- Wait for Confirmation: The app will display a confirmation message once the connection is successful. The robot vacuum will also likely indicate success with a sound or light.
Troubleshooting Common Issues During Connection
- Incorrect WiFi Password: Double-check that you’ve entered your WiFi password correctly. Remember that passwords are case-sensitive.
- Robot Vacuum Too Far from Router: Move the robot vacuum closer to your WiFi router during the initial setup process.
Connecting Popular Robot Vacuum Brands (2026 Models)
Here’s a breakdown of how to connect some of the most popular robot vacuum brands in 2026:
iRobot Roomba j7+ (2026) – £799.99
The Roomba j7+ generally connects via the iRobot Home app. Press and hold the “Clean” button on the Roomba until the WiFi indicator light flashes. Open the app, select “Add a Robot”, and follow the on-screen instructions. The app guides you through connecting to Roomba’s temporary network and then to your home WiFi.
Shark IQ Robot Self-Empty XL (2026) – £549.99
Shark’s IQ Robot connects through the Shark Clean app. Press and hold the Dock and Home buttons simultaneously for three seconds. Open the Shark Clean app and tap “+ Add Robot”. Follow the prompts to connect to the Shark Robot’s temporary WiFi network and then to your home network.
Eufy RoboVac X8 Hybrid (2026) – £499.99
The Eufy RoboVac X8 Hybrid uses the Smart Life – Smart Living app. Press and hold the Power and Home buttons until the WiFi indicator light starts blinking. Open the app, tap “+ Add Device,” select “Smart,” and follow the steps to connect to the RoboVac’s temporary network and your home WiFi.
Dreame L10s Ultra (2026) – £899.99
Dreame’s L10s Ultra connects via the Dreamehome app. Ensure the robot is docked. In the app, tap the “+” icon and select “Add Robot”. Follow the on-screen prompts. The app will guide you through connecting to the Dreame robot’s temporary network before linking it to your home WiFi.
Samsung Jet Bot AI+ (2026) – £999.99
The Samsung Jet Bot AI+ connects through the SmartThings app. Press and hold the Power and Home buttons until the WiFi indicator blinks. Open the SmartThings app, tap “+ Add Device”, select Samsung, then Robot Vacuum, and follow the guided setup. You’ll connect to the Jet Bot’s temporary network first.
Troubleshooting Common WiFi Connection Problems
Even with careful preparation, WiFi connection issues can occur. Here’s how to address them:
| Problem | Solution |
|---|---|
| Incorrect WiFi Password | Double-check your password and try again. Remember case sensitivity. Consider resetting your router password if you’ve forgotten it. |
| Robot Vacuum Too Far from Router | Move the robot vacuum closer to your router during the setup process. Once connected, test its range in different areas of your home. |
| Network Congestion | Try connecting during off-peak hours when fewer devices are using your WiFi network. |
| Firewall Settings | Check your router’s firewall settings to ensure they aren’t blocking the robot vacuum’s connection. You may need to add the robot vacuum’s MAC address to the allowed list. |
| App Glitches | Force close and reopen the robot vacuum’s app. Clear the app’s cache and data. If problems persist, reinstall the app. |
| Firmware Update Failure | Ensure a stable WiFi connection during firmware updates. Do not interrupt the update process. Try restarting the robot vacuum and the app. |
Maintaining a Stable WiFi Connection
Once your robot vacuum is connected, here’s how to keep the connection stable:
- Optimise WiFi Signal Strength: Ensure your WiFi router is centrally located and free from obstructions.
- Avoid Interference: Keep the router away from other electronic devices that can cause interference (e.g., microwaves, Bluetooth devices).
- Keep the App Updated: Regularly update the robot vacuum’s app to benefit from bug fixes and performance improvements.
- Consider a Mesh WiFi System: If you have a large home or experience WiFi dead zones, a mesh WiFi system like the TP-Link Deco X20 Mesh WiFi System (£199.99) can significantly improve coverage and stability.
Security Considerations for Smart Robot Vacuums
Like any smart device, robot vacuums are potentially vulnerable to security threats. Here’s how to protect your privacy and security:
- Strong Passwords: Use a strong, unique password for your WiFi network and your robot vacuum’s account.
- Two-Factor Authentication: Enable two-factor authentication (2FA) on your robot vacuum’s account if available.
- Regular Firmware Updates: Install firmware updates promptly to patch security vulnerabilities.
- Review Privacy Settings: Familiarise yourself with the robot vacuum’s privacy settings and adjust them to your preferences. Be mindful of data collection practices.