Table of Contents
Introduction: Why Robot Vacuum Maintenance Matters
Robot vacuums have become increasingly sophisticated in 2026, boasting advanced navigation, powerful suction, and even self-emptying capabilities. Models like the iRobot Roomba j7+ (2026 Model) (£799.99), Shark AI Ultra Robot Vacuum (£549.99), and Ecovacs Deebot X2 Omni (£999.99) are now commonplace in UK homes. But even the most advanced robot needs regular maintenance to perform at its best. Neglecting routine care can lead to reduced cleaning performance, a shortened lifespan, and potentially costly repairs. Crucially, maintaining your robot vacuum according to the manufacturer’s guidelines is often essential to keep your warranty valid.
Daily/After Each Use: Quick Checks & Tasks
These are the quick tasks you should perform after every use to ensure optimal performance. They only take a minute or two, and can significantly impact the long-term health of your robot.
- Empty the Dustbin: This is the most important daily task. A full dustbin dramatically reduces suction power and forces the robot to work harder.
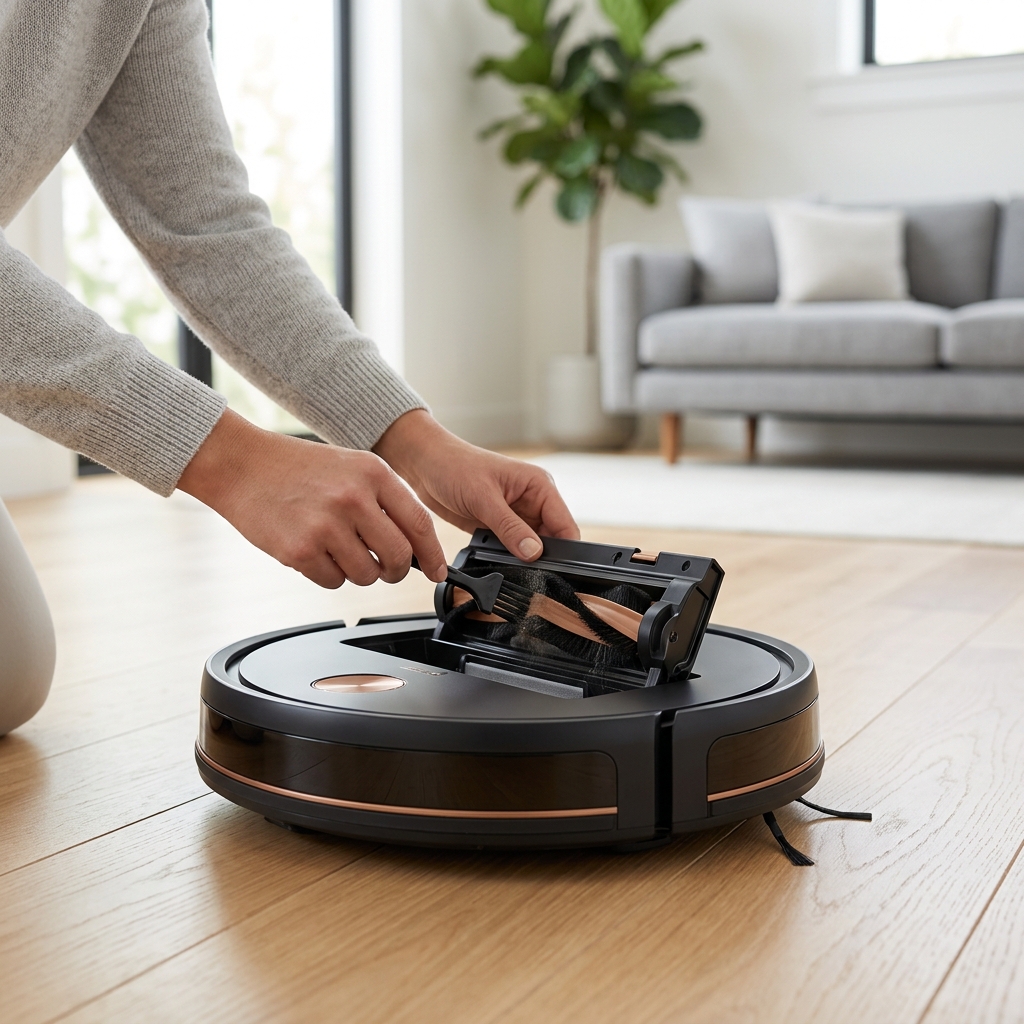
- Check for Tangled Brushes: Hair, string, cables, and even pet fur can easily become tangled around the main brush and side brushes. Remove any obstructions.
- Inspect Sensors: Visually check the cliff sensors and other sensors for dust or debris. Gently wipe clean with a soft, dry cloth. Obstructed sensors can cause navigation issues.
Weekly Maintenance: Deep Cleaning & Component Checks
Once a week, dedicate a bit more time to a more thorough cleaning. This will prevent build-up and ensure all components are functioning correctly.
Brush Cleaning
Remove the main brush and side brushes. Use the provided cleaning tool (or a small pair of scissors) to carefully cut away any tangled hair or fibres. Ensure the brushes can rotate freely. Consider replacing brushes every 6-12 months depending on usage – a Replacement iRobot Roomba Brush Kit (£49.99) is a good investment.
Filter Cleaning
Remove and clean both the HEPA filter and the pre-filter. Most filters can be gently tapped to remove loose dust, and some can be rinsed with water (check your robot’s manual for specific instructions – always ensure filters are completely dry before re-installing). Replacing filters every 3-6 months is recommended. A Universal Robot Vacuum Filter Pack (HEPA) (£24.99) can cover multiple replacements.
Sensor Cleaning
Use a soft, dry cloth to wipe all sensors clean. Pay particular attention to the cliff sensors, wall following sensors, and any optical sensors used for navigation.
Safety Precautions
- Always switch off the robot vacuum and disconnect it from the charging base before performing any maintenance.
- Do not use water to clean the main unit or any electrical components (unless specifically instructed in the manual).
- Allow all components to dry completely before reassembling.
Monthly Maintenance: Advanced Care & Software Updates
Beyond weekly cleaning, a few monthly tasks will help keep your robot in top condition.
Charging Contacts
Inspect the charging contacts on both the robot and the charging base. Wipe them clean with a soft, dry cloth to ensure a good connection. A poor connection can prevent the robot from charging properly.
Wheel Inspection
Check the wheels for debris, hair, or anything that might be hindering their movement. Remove any obstructions and ensure the wheels rotate smoothly.
Exterior Cleaning
Wipe down the exterior of the robot with a damp cloth to remove dust and grime.
Software/Firmware Updates
This is crucial! Most modern robot vacuums receive software updates that improve performance, add new features, and fix bugs. Check your robot’s app or website for available updates and install them promptly. These updates are often essential for keeping your robot running optimally and unlocking its full potential.
Troubleshooting Common Robot Vacuum Problems
Here are some common issues and how to address them:
- Robot Not Charging: Check the charging contacts, ensure the charging base is plugged in and receiving power, and confirm there are no obstructions blocking the connection.
- Getting Stuck: Identify the location where the robot gets stuck and remove the obstruction (cables, rugs, furniture legs). Consider using virtual walls or boundary strips to restrict access to problem areas.
- Poor Suction: Empty the dustbin, clean or replace the filters, and check for blockages in the suction path.
- Error Messages: Consult your robot’s manual to understand the meaning of the error message and follow the recommended troubleshooting steps.
- Navigation Problems: Clean the sensors, ensure the room is well-lit, and remove any reflective surfaces that might interfere with the robot’s navigation system.
Replacing Worn Parts: When & What to Replace
Over time, certain parts will wear out and need replacing. Here’s a guide:
Brushes
Replace when bristles are worn, bent, or damaged. Typically every 6-12 months, depending on usage.
Filters
Replace every 3-6 months to maintain optimal suction and air quality.
Batteries
Battery lifespan varies depending on usage and battery technology. In 2026, many robots utilize advanced lithium-ion or even solid-state batteries offering extended life. Expect 2-5 years of reliable performance. Replacement costs range from £80 to £200+ depending on the model.
Finding Replacement Parts
Always use genuine or certified replacement parts to ensure compatibility and performance. Check the manufacturer’s website or reputable retailers.
Maximising Battery Life in 2026 Robot Vacuums
2026 robot vacuums are benefiting from advancements in battery technology, particularly solid-state batteries offering higher energy density and longer lifespans. However, good charging habits are still crucial:
- Avoid Full Discharges: While older battery technology benefitted from occasional full discharges, modern lithium-ion and solid-state batteries perform best when kept topped up.
- Utilise Scheduling Features: Program your robot to clean during off-peak electricity hours to save energy and reduce strain on the battery.
- Avoid Extreme Temperatures: Do not expose your robot vacuum to extreme heat or cold.
- Smart Charging: Many robots now offer “smart charging” features that optimise charging cycles to extend battery life.
Conclusion: Maintaining a Clean Home with a Happy Robot
Investing in a robot vacuum is a fantastic way to simplify your cleaning routine and enjoy a cleaner home. However, like any appliance, it requires regular maintenance to perform at its best. By following the simple steps outlined in this guide, you can keep your robot vacuum running smoothly for years to come, ensuring a worthwhile investment and a consistently clean living space. A little effort goes a long way in maintaining a happy robot – and a happy home!
FAQ
How often should I clean the sensors on my robot vacuum?
You should visually inspect the sensors after each use and clean them weekly with a soft, dry cloth. Dust and debris can significantly impact navigation performance.
What does it mean when my robot vacuum displays an “Error 12” message?
Error 12 typically indicates a suction problem, often caused by a blocked fan or a full dustbin. Empty the dustbin and inspect the suction pathway for obstructions.
Can I use vinegar to clean my robot vacuum’s brushes?
While vinegar can be a good cleaning agent, it’s best to avoid using it on the brushes as it could potentially damage the bristles or electronic components. Stick to the cleaning tools provided or warm water.
How long should a robot vacuum battery last?
Modern robot vacuum batteries, especially those utilizing solid-state technology, should last for 2-5 years with proper care. Battery life is affected by usage patterns and charging habits.
Is it worth buying a robot vacuum with a self-emptying base?
For many, yes. Self-emptying bases, like those found in the Ecovacs Deebot X2 Omni (£999.99), significantly reduce maintenance frequency and improve convenience, although they do come at a higher upfront cost.