
Affiliate disclosure: this article contains paid links. As an Amazon Associate I earn from qualifying purchases.
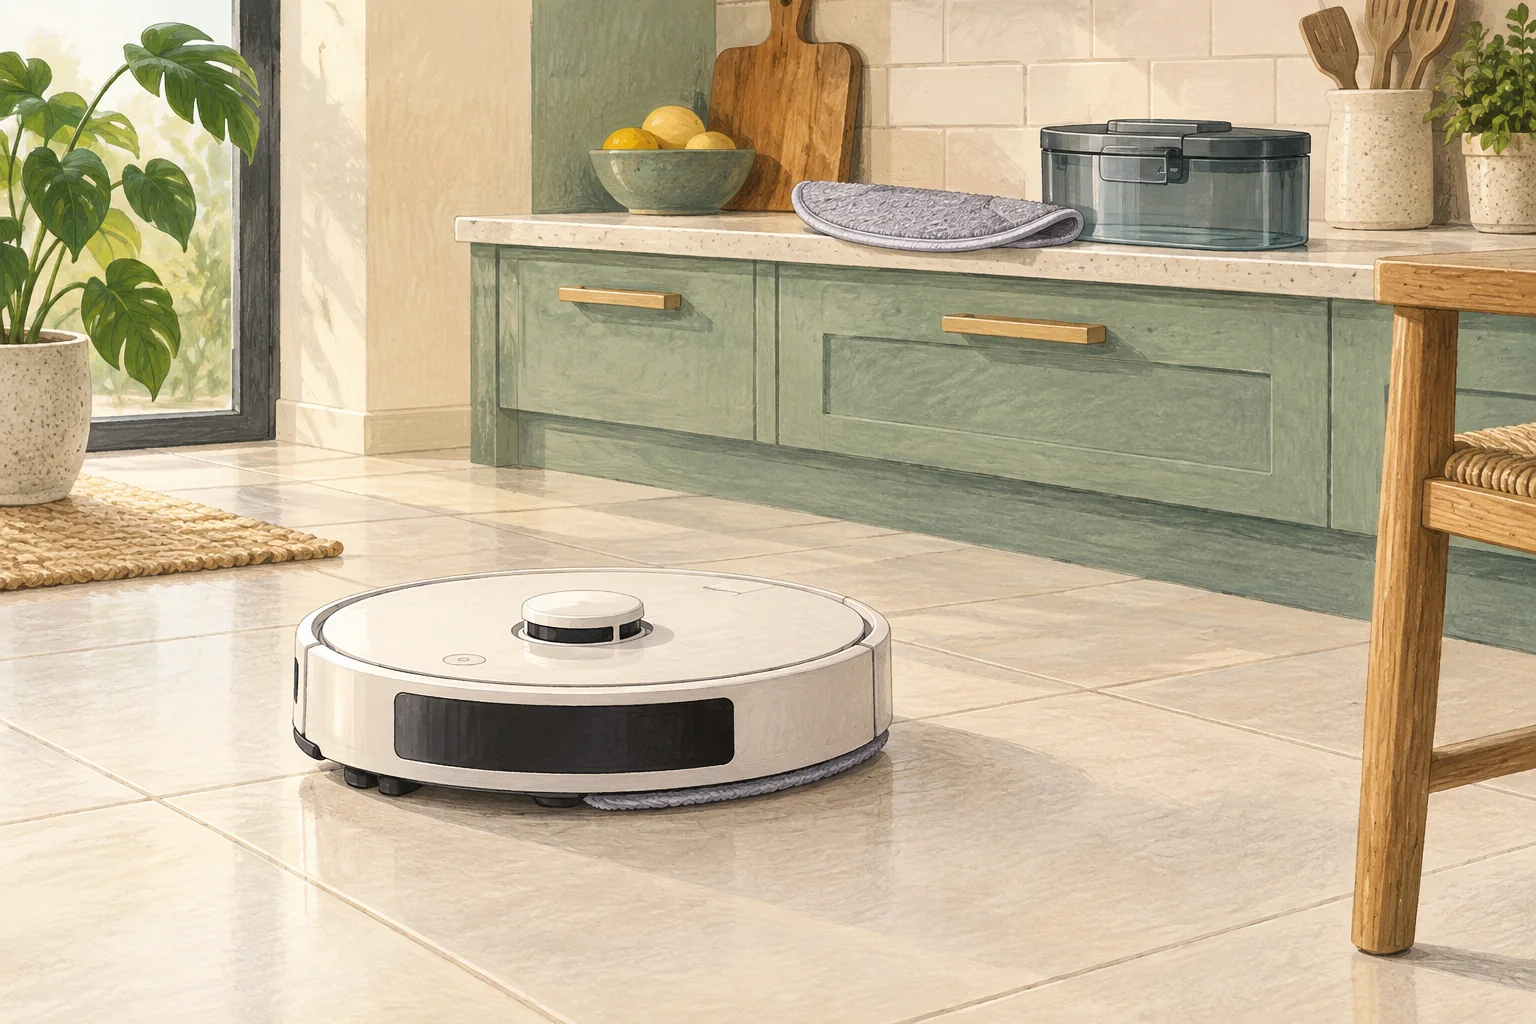
A loose pad can leave the floor inconsistently cleaned and catch under the robot. Check attachment, wear and compatibility before increasing mop pressure.
Table of Contents
Start with these checks
- Switch off and inspect the pad holder and fastening surface.
- Compare the replacement pad size and fixing with the original.
- Refit as directed and run a short supervised hard-floor section.
What this looks like at home
Thick third-party pads can fit onto a holder yet interfere with the way it clips into the robot.
Keep clean water, dirty water and dry dust separate
| Check | What matters |
|---|---|
| Clean-water side | Use the permitted water and solution method. |
| Dirty-water side | Empty and clean the removable tank as directed. |
| Pads, roller and tray | Inspect, clean and dry only as the manual allows. |
A mistake to avoid
Do not glue the pad or holder into a part designed to be removable.
Buy a part only after identifying the cause
Check the exact model and part reference before buying. If cleaning resolves the problem, a replacement may be unnecessary.
Browse Amazon UK results for robot vacuum original mop pads. These are search results, not a verified recommendation for your particular machine.
What the result tells you
Compare whether the pad separates from its holder or the entire holder detaches from the robot. That distinction helps identify which fixing or replacement component needs checking.
Related guidance
- Robot Vacuum Maintenance Tips UK: Keep Your Cleaner Running Smoothly
- How to Choose a Robot Vacuum: Complete Buyer's Guide
Sources and scope
Checked on 9 September 2026. Manufacturer instructions apply to the models they name; use your own exact manual for button sequences, removable parts and cleaning permissions. Product specifications are advertised claims. Examples illustrate decisions and are not hands-on test results.