Table of Contents
Introduction: Why Troubleshoot Your Robot Vacuum?
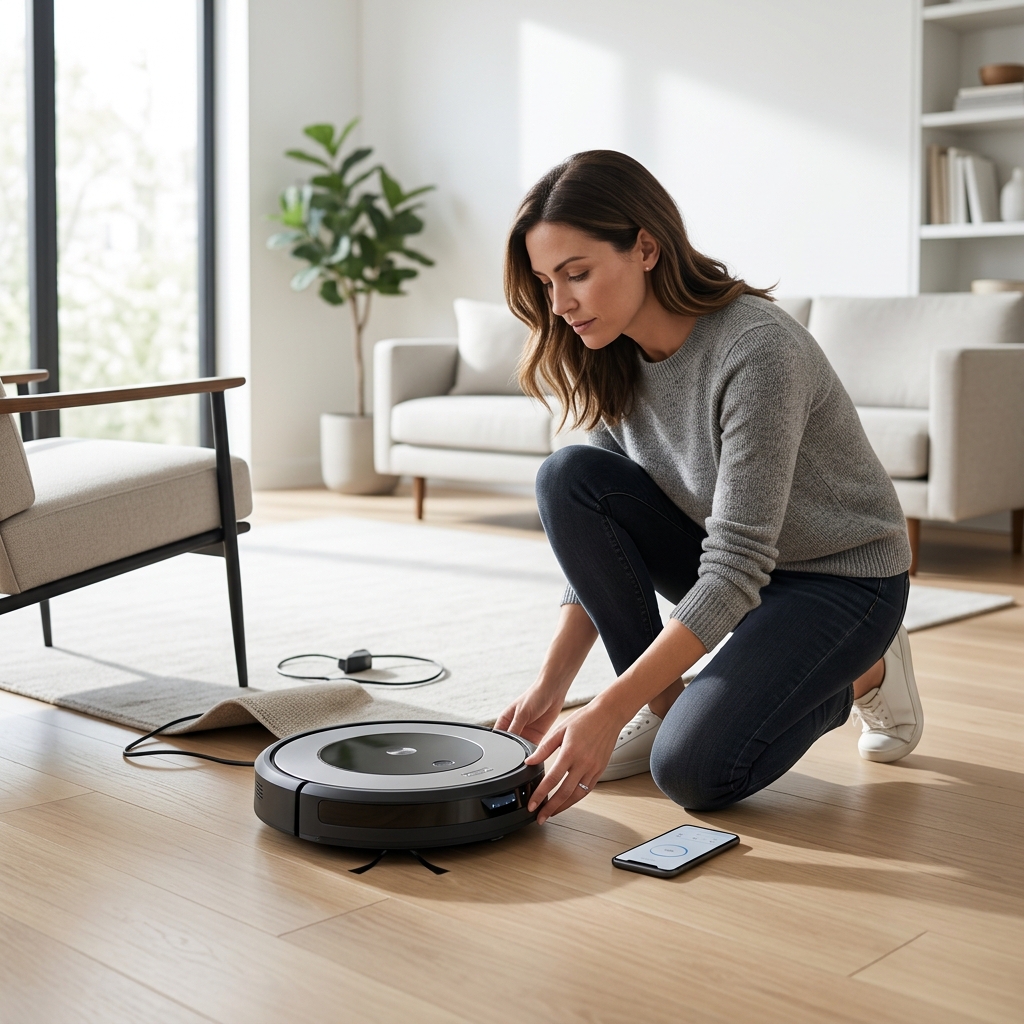
Robot vacuums have become increasingly popular in UK homes, offering a convenient way to maintain clean floors with minimal effort. However, even the most advanced models – like the iRobot Roomba j7+ (£699.99) or the Ecovacs Deebot X2 Omni (£899.99) – aren’t immune to problems. Before rushing to replace a malfunctioning robot vacuum, troubleshooting can often save you time, money, and the hassle of purchasing a new unit. With the increasing complexity of newer models, issues are becoming more common, but often solvable with a little know-how. This guide will equip you with the knowledge to diagnose and fix common robot vacuum problems, ensuring your cleaning companion continues to perform at its best.
Understanding Your Robot Vacuum: Key Components
To effectively troubleshoot your robot vacuum, it’s essential to understand its core components. These include:
- Brushes: Rotating brushes (main brush and side brushes) agitate and sweep dirt into the suction path.
- Sensors: Various sensors (cliff sensors, bump sensors, wall-following sensors) help the vacuum navigate and avoid obstacles.
- Dustbin: The container that collects the dirt and debris.
- Battery: Powers the vacuum. Lithium-ion batteries are standard.
- Motor: Creates the suction power.
- Wheels: Enable movement and often contain motors for driving.
Understanding how these parts work together will assist you in pinpointing the source of any problems.
Common Robot Vacuum Problems & Solutions: Navigation Issues
One of the most frequent complaints is navigation problems. Here’s how to address them:
Getting Stuck
Problem: The vacuum gets stuck under furniture, on rugs, or in corners.
Solutions:
- Clear Obstacles: Remove low-hanging cables, small objects, and anything that might snag the vacuum.
- Check Rugs: Thick or shaggy rugs can sometimes impede movement. Consider using virtual walls (often available through the app) to restrict access to these areas.
- Clean Sensors: Dirt or dust on the cliff sensors can cause the vacuum to misjudge its position. Gently wipe them clean with a soft, dry cloth.
Bumping into Objects
Problem: Excessive bumping into furniture and walls.
Solutions:
- Clean Bump Sensors: Similar to cliff sensors, clean the bump sensors.
- Mapping Settings: If your vacuum has mapping capabilities (like the Roborock S8 Pro Ultra (£799.99)), ensure the mapping is accurate and updated.
Mapping Errors
Problem: Incorrect or incomplete room mapping.
Solutions:
- Restart Mapping: Initiate a new mapping run in the app.
- Ensure Adequate Lighting: Some robots rely on visual cues for mapping. Ensure the room is well-lit.
- Update Firmware: Check for firmware updates in the app. Manufacturers often release updates to improve mapping algorithms.
Common Robot Vacuum Problems & Solutions: Suction Problems
Weak suction is a common issue. Here’s what to do:
Weak Suction
Problem: The vacuum isn’t picking up dirt effectively.
Solutions:
- Empty the Dustbin: A full dustbin significantly reduces suction power.
- Clean the Filter: A clogged filter restricts airflow. Clean or replace the filter according to the manufacturer’s instructions.
- Check for Blockages: Inspect the suction inlet, brush roll, and airways for obstructions (hair, string, etc.).
Clogged Brushes
Problem: Hair and debris wrapped around the brush roll.
Solutions:
- Remove Brush Roll: Most robot vacuums allow you to easily remove the brush roll for cleaning.
- Cut Away Debris: Use scissors or a specialized brush cleaning tool to carefully remove tangled hair and debris. Replacement Robot Vacuum Brush Rollers (£24.99) are readily available.
Blocked Airways
Problem: Airflow restricted within the vacuum.
Solutions:
- Inspect Hose and Ports: Check the hose connecting the dustbin to the motor for blockages.
- Disassemble and Clean: (Consult your owner’s manual) Carefully disassemble the vacuum and clean any blocked airways.
Common Robot Vacuum Problems & Solutions: Battery & Charging Issues
Problems with the battery and charging system can prevent operation.
Not Charging
Problem: The vacuum isn’t charging when placed on the dock.
Solutions:
- Clean Charging Contacts: Wipe the charging contacts on both the vacuum and the dock with a dry cloth.
- Check Power Supply: Ensure the charging dock is properly plugged in and receiving power.
Short Battery Life
Problem: The vacuum’s battery drains quickly.
Solutions:
- Battery Age: Batteries degrade over time. If your vacuum is several years old, the battery may need replacing (if possible – some are not user-replaceable).
- Avoid Extreme Temperatures: Extreme heat or cold can affect battery performance.
Failing to Return to Dock
Problem: The vacuum doesn’t automatically return to the charging dock.
Solutions:
- Clear Path: Ensure a clear path between the vacuum and the dock.
- Update Firmware: Firmware updates can often improve docking performance.
Common Robot Vacuum Problems & Solutions: Connectivity & App Issues
Modern robot vacuums rely heavily on app connectivity.
Wi-Fi Connection Issues
Problem: The vacuum won’t connect to Wi-Fi.
Solutions:
- Restart Vacuum and Router: A simple restart can often resolve connectivity issues.
- Check Wi-Fi Password: Ensure you’ve entered the correct Wi-Fi password in the app.
- 2.4 GHz Network: Many robot vacuums only support 2.4 GHz Wi-Fi networks. Ensure you’re connecting to the correct network.
App Crashes
Problem: The app crashes or freezes.
Solutions:
- Reinstall App: Uninstall and reinstall the app.
- Update App: Ensure you’re using the latest version of the app.
Advanced Troubleshooting: Error Codes & What They Mean
Many robot vacuums display error codes to help diagnose problems. Here’s a table of common error codes (examples – specific codes vary by brand):
| Error Code | Possible Cause | Solution |
|---|---|---|
| E10 | Brush Motor Error | Check and clean the brush roll. Contact support if the issue persists. |
| E20 | Wheel Motor Error | Check for obstructions around the wheels. Restart the vacuum. |
| E30 | Suction Motor Error | Check for blockages in the airways. Clean the filter. |
| E40 | Battery Error | Check charging contacts. Replace battery (if possible). |
| E50 | Sensor Error | Clean the sensors. |
Preventative Maintenance: Keeping Your Robot Vacuum Running Smoothly
Regular maintenance can prevent many problems:
- Empty the Dustbin: After each use, or at least several times a week.
- Clean the Brushes: Weekly, remove and clean the brush roll.
- Clean the Filter: Monthly, clean or replace the filter.
- Wipe Sensors: Regularly, wipe the sensors with a soft, dry cloth.
- Update Firmware: Check for and install firmware updates.
When to Call a Professional (or Replace Your Robot Vacuum)
If you’ve tried all the troubleshooting steps and your robot vacuum still isn’t working, it might be time to seek professional help. Consider these scenarios:
- Motor Failure: If the motor isn’t running or is making unusual noises.
- Unrepairable Damage: If the vacuum has sustained significant physical damage.
- Warranty Coverage: Check your warranty. Many robot vacuums come with a 1-2 year warranty. The Shark AI Ultra Robot Vacuum (£449.99), for example, typically offers a 2-year warranty.
If the repair cost is close to the price of a new vacuum, it may be more cost-effective to replace it.
Conclusion: Enjoy a Clean Home with a Well-Maintained Robot Vacuum
Troubleshooting your robot vacuum doesn’t have to be daunting. By understanding its components, addressing common problems, and performing regular maintenance, you can ensure a reliable and convenient cleaning experience for years to come. Don’t let a minor issue disrupt your clean home – take the time to troubleshoot, and enjoy the benefits of a well-maintained robot vacuum!